
Sign printing tips - outlining text
Outlining text gives the best result when printing signs
Printing signs isn’t really rocket science, but there are a few important sign design tips, like outlining text, that you need to know.
One fundamental tip is that outlining text within your sign design file will make the file easier to work with and print better! How come you say?
Well…. When you outline your text it becomes a series of dots and lines between those dots. That means that when your sign file is getting prepared, we can print it as large as we want or as small as we want without distortion. See the example below. Here is an example of two types of text. 1 is outlined, the other is not! They both look OK right?
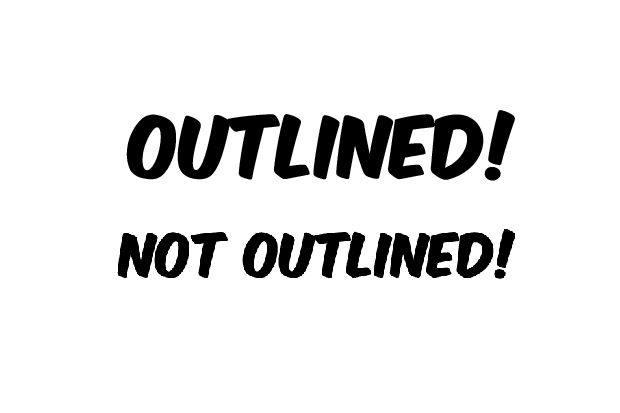
Sweet as!
Now let’s enlarge the non-outlined text and see what happens…
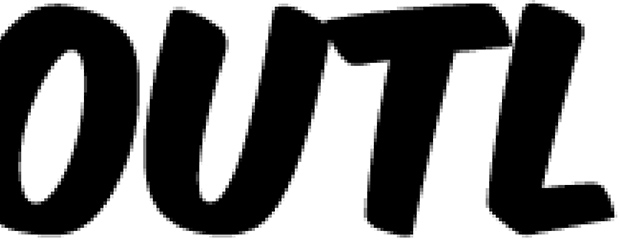
You get pixels showing! And for signage printing, that kinda sucks.
So, the answer? Outline your text! How do you do that? Let us show you!
Video tutorial – Outlining text in Adobe Illustrator
The easiest way for you to learn how to outline your text will be to watch one of our super short videos on our new YouTube channel.
Or simply follow these steps below to outline your text
In Adobe Illustrator
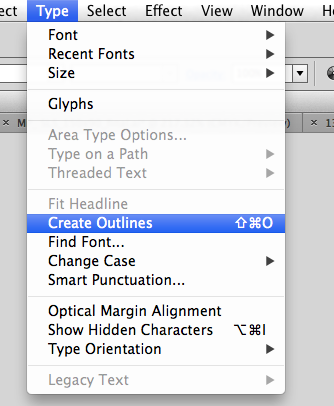
Select your text and go to type – create outlines. BOOM! Job done.
In Adobe PhotoShop
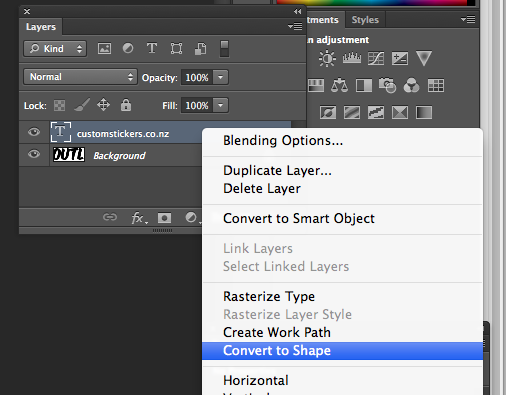
Select the layer of your text, then right click and select Convert to shape. BOOM! Job done.
Not using Illustrator or PhotoShop?
Most design programs have a way to do this. If MS word is your design program, you might be screwed.
Need some help?
Check out our FAQS page for more help on setting up your artwork.
The best other option is to send your font file through to us directly. They are located in library/fonts on a mac, or windows/fonts on a PC. Select the appropriate RTF, TTF or OTF file and attach to an email. Then we can do the dirty work for you.